


How to Digitize Your Custom Cassettes Without Losing Quality
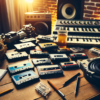
cassette mixtape
How to Digitize Your Custom Cassettes Without Losing Quality
Many music lovers still keep their beloved custom cassettes, packed with mixtapes curated for special road trips, teenage heartbreaks, or birthday parties. If you’re wondering how to digitize your custom cassettes without losing quality, you’re not alone. With aging tapes and decreasing access to tape players, preserving these musical memories is becoming more urgent—and fortunately, very doable. This guide walks you through step-by-step solutions to convert your treasured cassette collection into high-quality digital formats.
Why Digitize Custom Cassettes?
Custom cassettes offer a personal touch in an age dominated by algorithmically generated playlists. From nostalgic soundtracks to meaningful messages recorded onto tape, these analog treasures deserve long-term preservation. However, cassette tapes degrade over time, suffering from magnetic wear, physical tape damage, and environmental conditions. Digitizing your tapes ensures your audio legacy survives for future generations, sharable, storable, and accessible on any modern device.
What You’ll Need to Get Started
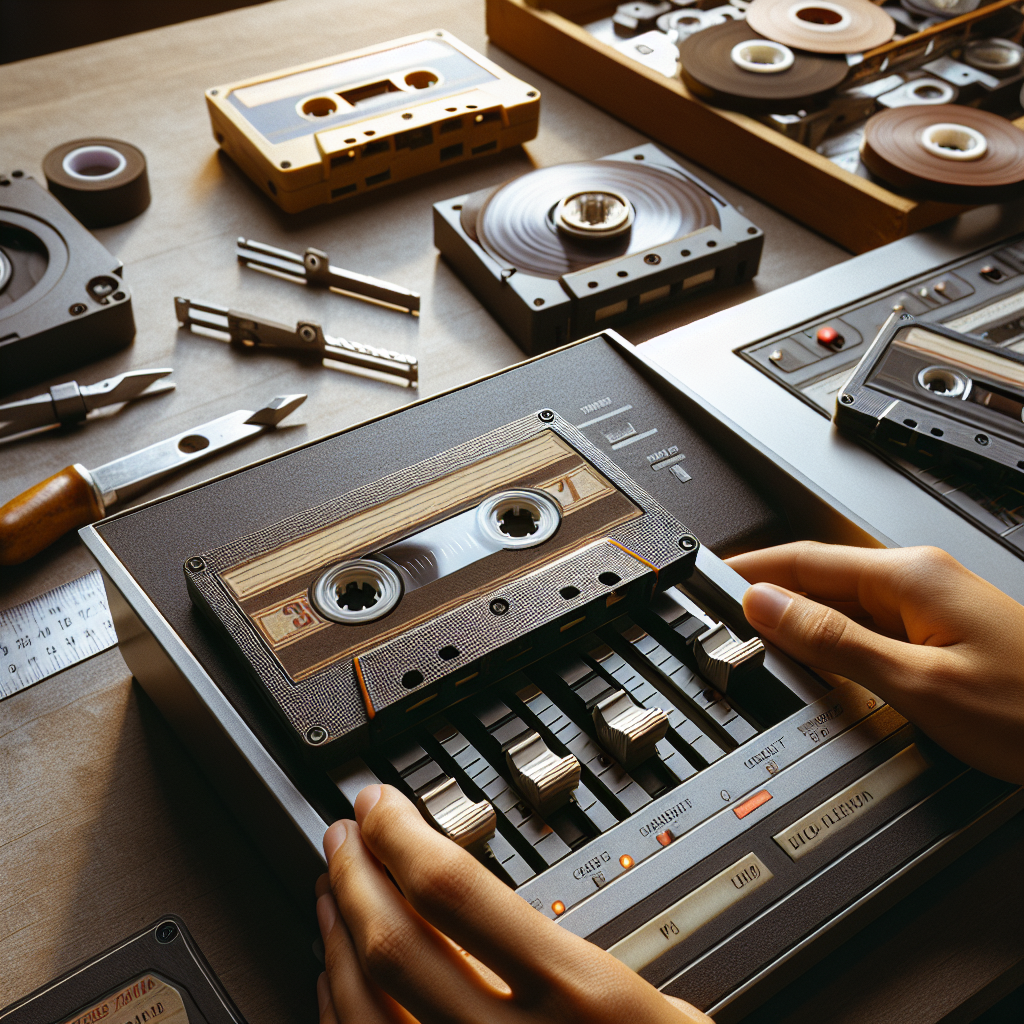
Digitizing cassettes doesn’t require a professional studio—you can achieve great results with home equipment. Here’s your essential toolkit:
1. A Working Cassette Player
An old but functioning tape deck with clean heads is crucial. Ideally, use a model with a headphone or RCA output. For better results, prioritize players with manual pitch controls and adjustable azimuth features.
2. Audio Interface or USB Cassette Converter
You can either use an audio interface (like Focusrite Scarlett) for a higher-end experience or get a USB cassette-to-MP3 converter for convenience. Audio interfaces deliver superior fidelity but may require more configuration.
3. Cables and Adapters
Commonly used cables include 3.5mm to RCA or RCA to USB, depending on your setup. Always ensure tight, clean connections to minimize audio interference or dropouts.
4. Recording Software
Audacity (free), GarageBand (Mac), or Adobe Audition (paid) are popular choices for capturing and editing audio. These programs allow you to record, split tracks, apply noise filters, and export in versatile formats like WAV or FLAC.
Step-by-Step: Digitizing Without Sacrificing Quality
Step 1: Clean Your Tape and Player
Before you press play, clean the cassette heads and rollers with isopropyl alcohol and swabs. Also, gently fast-forward and rewind your tape to ensure it moves freely. A dirty head or sticky tape can ruin your recording.
Step 2: Connect Your Equipment
If using a standard cassette deck, run RCA to 3.5mm cables into your audio interface or computer line-in. If you’re using a USB converter, connect it directly to your computer. Ensure your software recognizes the input source.
Step 3: Calibrate Your Levels
Play a short segment of the tape and watch the input levels in your recording software. Aim for a peak of around -6dB to avoid clipping (distortion from audio peaks). Adjust input gain accordingly.
Step 4: Start Recording in Real-Time
Begin a clean recording from the beginning of the tape. Since this is a real-time process, be patient and let the tape play naturally. Monitor the audio as it records to ensure no dropouts or background noise.
Step 5: Edit and Trim the Digital Audio
Once recording is complete, clean the audio by trimming silence, applying light EQ, and using noise reduction filters sparingly. Avoid over-processing, as it can strip the warmth that makes cassettes unique.
Step 6: Save in High-Quality Format
Export your digitized tracks as WAV, FLAC, or 320kbps MP3 files. While MP3 files are more portable, WAV or FLAC retain all original details and are ideal for archiving or future processing.
Pro Tips for Audiophile Results
Use a High-End Deck If Available
Vintage brands like Nakamichi, TEAC, or Sony often offer superior transport mechanics and better analog-to-digital fidelity than budget USB models.
Refine With Gentle Equalization
Some cassettes may sound muffled or hissy. Apply gentle EQ tweaks to enhance clarity or reduce tape hiss, but resist the temptation to overdo it. Trust your ears!
Label and Organize Your Digital Files
Once digitized, name your files carefully—include artist, track title, and tape side. Organize them into folders by theme, year, or message so you can easily revisit the nostalgia.
Conclusion: Preserve Your Analog Memories With Care
Digitizing your custom cassettes without losing quality is a rewarding and achievable DIY project. Whether you’re immortalizing a romantic mix or restoring long-lost jams from your teenage years, thoughtful handling and the right tools ensure you can enjoy those sounds for decades to come. More than technical preservation, this process is about keeping musical memories alive—nostalgia in its most listenable form.
So dust off those tapes, plug in your deck, and get ready to rediscover the sound of another era, now everlasting in digital clarity.
Ready to bring your music to life?